Guide
Our app takes as input a burst of images and stacks them to produce a single output image with reduced noise and increased dynamic range (you can read more about the process here). Below is a step-by-step guide to using the app.
Capturing images
The app relies on aligning and merging a burst of similar images. Bursts with uniform exposure and bursts with bracketed exposure are supported. A bracketed exposure is detected when the exposure bias set by the camera differs between frames (e.g. using the exposure compensation dial to set -1 EV, 0 EV or +1 EV). In addition, manually changing shutter speed to control exposure is also supported by the app. Ideally, try to capture at least 5 - 10 sharp images without significant movement between them. It is okay if you take the burst handheld or if a person or an object moves slightly between the frames. However, try to avoid motion blur and significant movement between images. Bursts with bracketed exposure typically require less frames than bursts with uniform exposure for a comparable level of noise reduction.
Image formats
The only natively supported image format is DNG. However, if you download and install Adobe DNG Converter, Burst Photo will be able to convert most RAW formats in the background.
Processing images
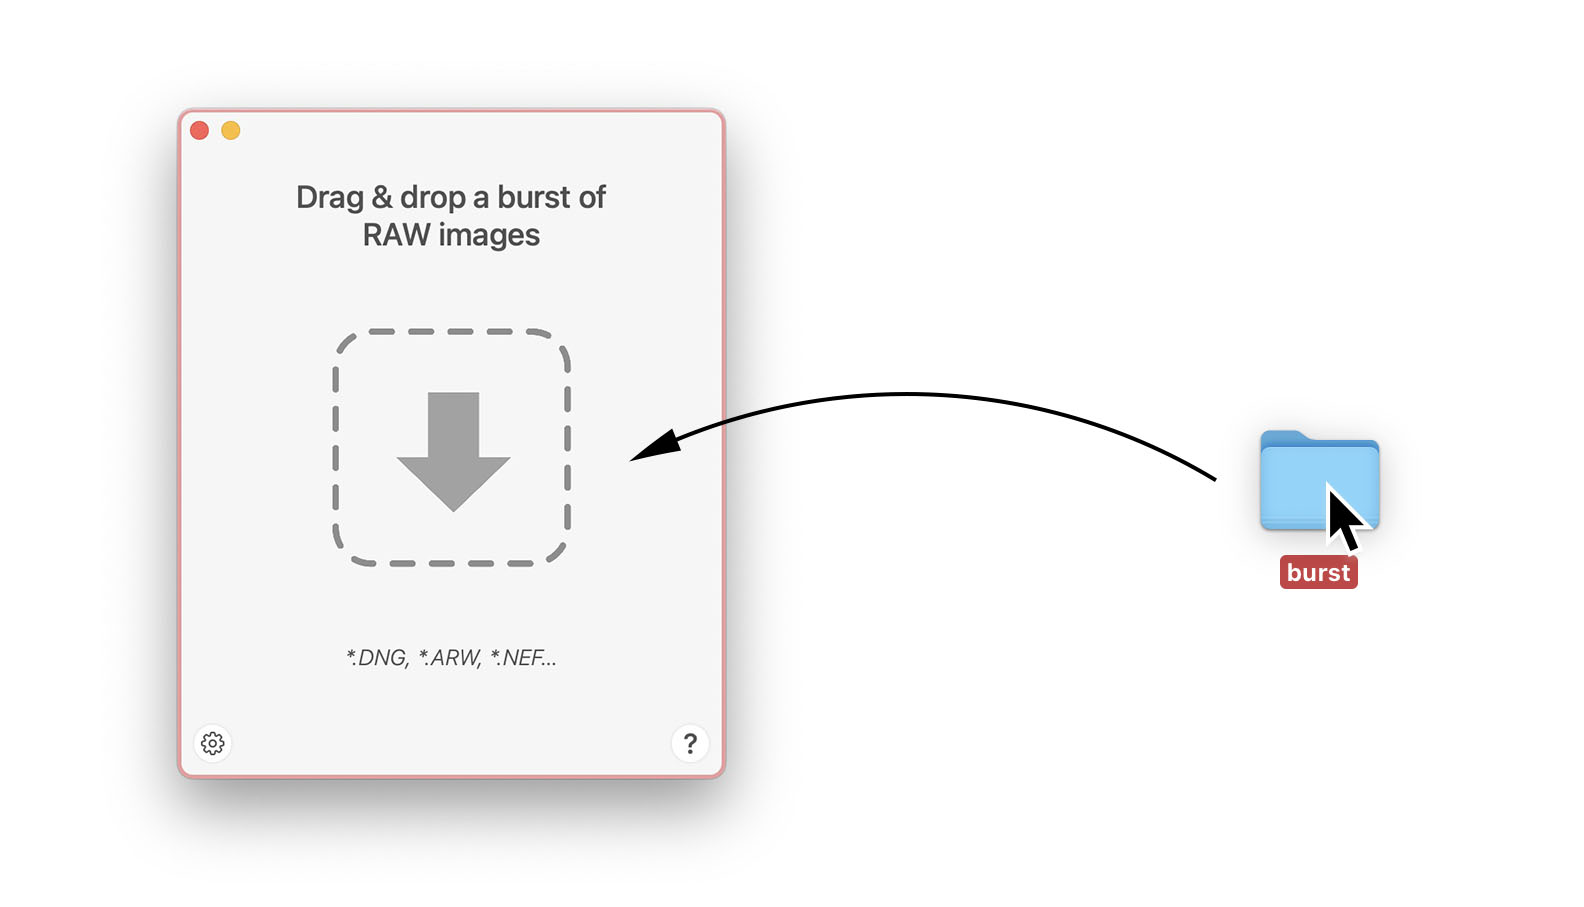
To process a burst of images, please drag-and-drop them into the app. You can either drag-and-drop individual images or a folder containing the whole burst. The resulting image will be either based on the middle frame of the burst (uniform exposure) or on the most central, darkest frame of the burst (bracketed exposure). The output file will be in the RAW-DNG format and its filename contains the most important settings selected. It can be further processed with the RAW converter of choice.
Settings
There are six settings in the preferences panel of the app. Their default values should work well in many cases. However, if you want to get the best results possible, please follow the tips below.
Exposure control: RAW files of most cameras have a native bit-depth of 12-14 bits while the merging in the app is performed with a bit depth of 32 bit. As a consequence, tonality of the deep shadows is much improved after merging. Exposure control can help preserving this improved tonality by lifting the shadows to prevent quantization noise. The following options are available:
- Off: Fallback solution with best file compatibility (no exposure metadata extraction required), but reduced functionality: Less efficient hot pixel suppression; Simple average can exhibit color casts in bright highlights.
- Linear (full bit range): Recommended default option: Linear correction with exposure increase until full bit range of RAW file is used; Can improve tonality of shadows without clipping the highlights; No correction if darkest frame of the burst already has bright pixels close to the white point.
- Linear (relative +1 EV): Applies the linear (full bit range) correction, but enforces a relative exposure increase of at least +1 EV; Improves tonality of shadows, but may clip the highlights.
- Non-linear (target ±0 EV): Non-linear exposure correction with target exposure ±0 EV based on camera’s exposure bias setting; Improves tonality of shadows while compressing and protecting highlights; Always applies linear (full bit range) correction first; Non-linear correction not applied if absolute exposure level after linear correction ≥ 0 EV.
- Non-linear (target +1 EV): Same as above, but with target exposure +1 EV based on camera’s exposure bias setting; Non-linear correction not applied if absolute exposure level after linear correction ≥ +1 EV.
Noise reduction: This parameter is perhaps the most important setting: it controls the tradeoff between the strength of noise reduction and the occurrence of motion artifacts and other merging-related artifacts. It can be interpreted as specifying the assumed noise level of the frames in the burst. Its optimal value depends on many factors, such as characteristics of the camera sensor, capture settings (e.g. ISO value), scene type (e.g. daylight or night scene), number of images in the burst, and very importantly, the taste and post-processing workflow of the user. Note: this parameter behaves differently between the “Fast” and “Higher quality” merging algorithms (you might prefer a different value for either algorithm).
Tile size: Each image is aligned as a grid of tiles. Tile size controls the size of these tiles. For bursts with lots of motion between the frames, it is preferable to use the setting „Small“, so that the images can be aligned precisely. On the other hand, if there is little motion and lots of noise, it is preferable to use the setting „Large“.
Search distance: This parameters controls the maximum alignment magnitude between images. It should be set to “Low” if all the images are very similar. Conversely, if there is significant movement between images, it should be set to “Large”.
Merging algorithm: This parameter selects the approach used for merging of images. The option “Fast” applies merging in the spatial domain, which results in quick processing times. The option “Higher quality” performs merging in the frequency domain, which achieves better preservation of details at the cost of longer processing times.
Output bit depth: Similar to the Exposure control setting, this parameter can help improving the tonality of the deep shadows. It specifies if the output file should use the native RAW bit-depth (typically 12-14 bits) or if the pixel values shall be scaled to full 16 bit precision. The latter can reduce quantization noise in the deep shadows considerably, but it may lead to file incompatibility for some cameras/RAW converters.
Tips
- To achieve the highest dynamic range, either underexpose your images or use a burst with bracketed exposure. Shadows can typically be boosted but if the highlights are clipped, they cannot be recovered in post. Further, it is recommended that you expose to the right. Keep in mind that the histogram on your camera is probably giving you information based on the JPEG output and not on the RAW file.
- Bursts with uniform exposure may be the better choice for night scenes as each frame can have a maxed out exposure time while bursts with bracketed exposure may be more suitable for daylight HDR scenes where one frame can best capture the highlights while another frame can best capture the shadows.
- Typical bursts with bracketed exposure may span a range of 4 EV (e.g. from -2 EV to +2 EV) and should be captured at a constant ISO value (ideally at base ISO). Values in the extended ISO range are not supported. Ideally let your camera capture the bracketed burst automatically, rather than turning the exposure compensation or shutter speed dial manually, to minimize the impact of scene motion.
- The default
Tile size(„Medium“) andSearch distance(„Medium“) usually work very well. - To improve tonality in the shadows, you can experiment with the various
Exposure controloptions. The setting “Linear (full bit range)” is recommended as the starting point. In addition, you can try setting theOutput bit depthto 16 bit. Exposure controlonly works if several exposure metadata information can be extracted correctly from the DNG. If you get any color casts for your files, you can try the setting „Off“, try to decreaseNoise reduction, setOutput bit depthto “Native” and/or use only bursts with uniform exposure. The setting “Off” should only be used as a fallback solution in case the setting “Linear (full bit range)” exhibits artifacts.- When the exposure bias is derived from shutter speed, only a relative bias between the frames can be calculated. In that case, an absolute exposure bias of -2 EV is assumed for the darkest frame.
- If you see any motion artifacts, ghosting or color casts in the output image, decrease
Noise reduction. - If you see too much noise in the output image, increase
Noise reduction. - If you work on a tripod and capture a static scene, you may apply the “max.” setting for
Noise reduction, which applies simple averaging without alignment. This provides the best possible noise reduction at the expense of having no robustness against motion.
Some example configurations and potential applications are shown in the table below:
| Configuration | Noise reduction | Motion robustness | Examples |
|---|---|---|---|
| uniform exposure; NR: 1 to 22 | + | +++ | night scene, astro photography |
| bracketed exposure; NR: 1 to 22 | ++ | ++ | daylight HDR scene |
| uniform exposure; NR: simple average | +++ | − | static scene with tripod, virtual long exposure |
| bracketed exposure; NR: simple average | ++++ | − − | static HDR scene with tripod |